7 Easy Halloween Nail Art Design For Beginners
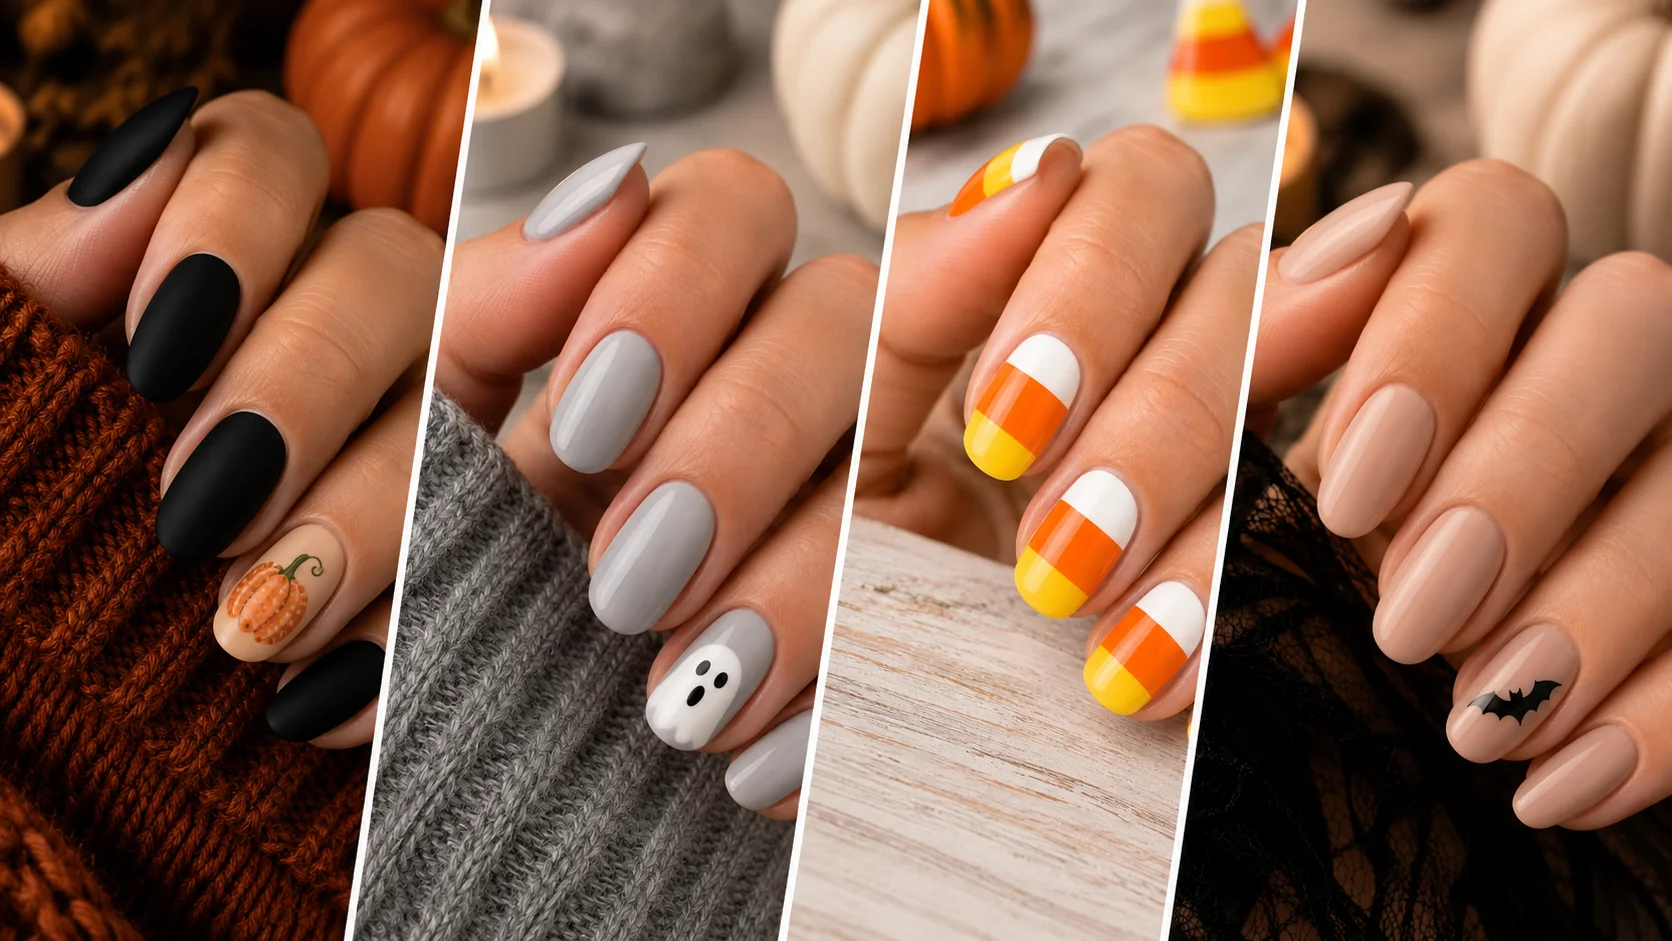
Okay so real talk, I used to think nail art was only for people with steady hands and way too much patience. Turns out most of the cutest Halloween looks are actually beginner friendly once you know a few simple tricks.
These seven designs use basic tools you probably already have, a dotting tool, a thin brush, maybe some tape, and they still look impressively spooky once they’re done. No salon appointment needed, just you, some polish, and maybe a Halloween movie playing in the background.
So here are 7 Easy Halloween Nail Art Designs For Beginners.
1. Simple Polka Dot Spiders
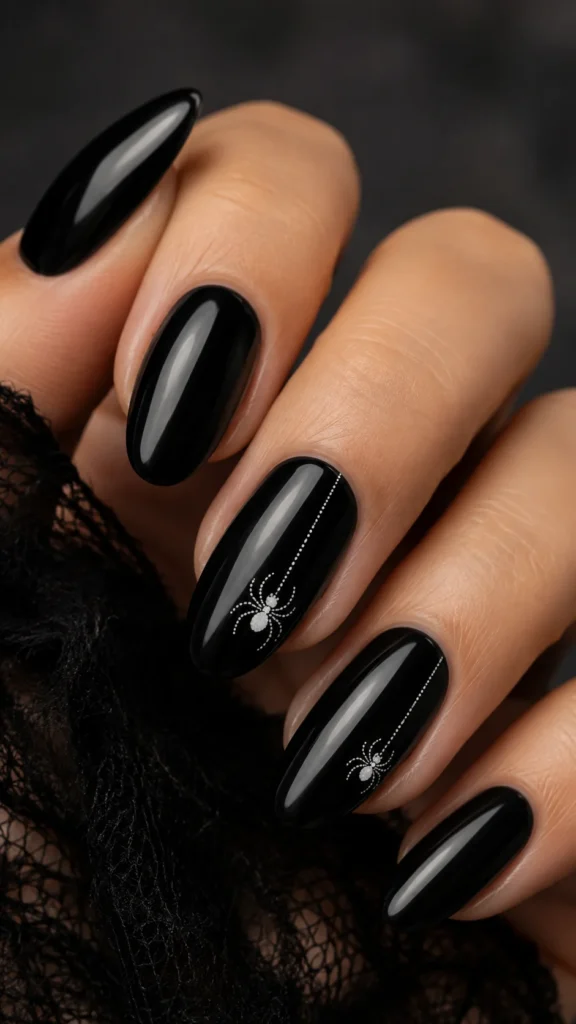
Paint your nails black or deep purple, then use a dotting tool to add a small body and tiny dots for legs in white or silver. It looks intricate but it’s really just a few careful dots.
Pro tip: If your dots come out uneven, just add more, a slightly messy spider web of dots actually looks intentional and cute.
2. Two Tone Tape Tips
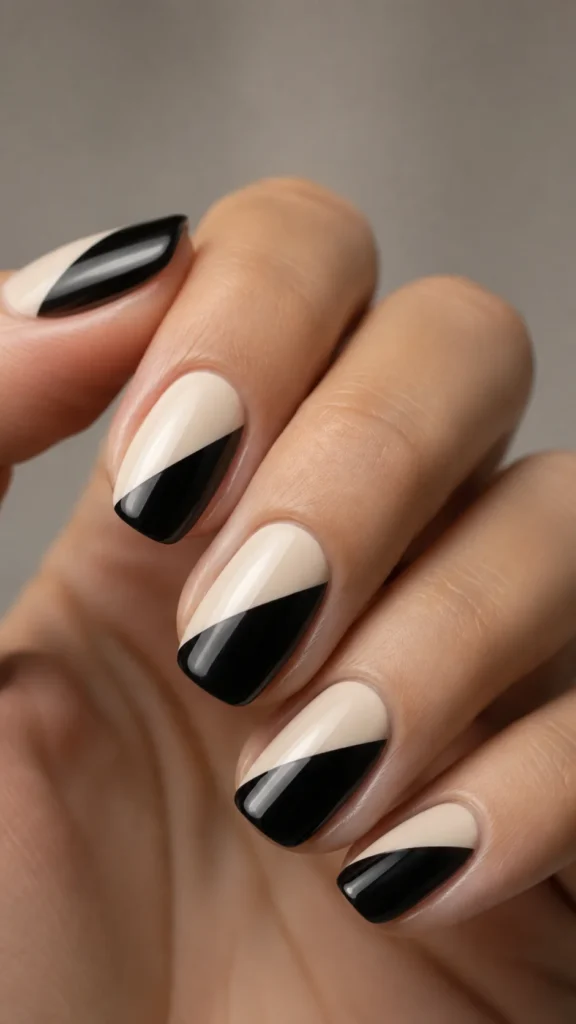
Paint your nails a base color like cream or nude, then use small strips of nail tape to create a clean diagonal or straight line, and fill the tip in black or orange. Peel the tape off once dry for a crisp, sharp edge.
Pro tip: Make sure your base coat is fully dry before applying tape, otherwise you risk peeling off polish along with it.
3. Dotted Pumpkin Nail
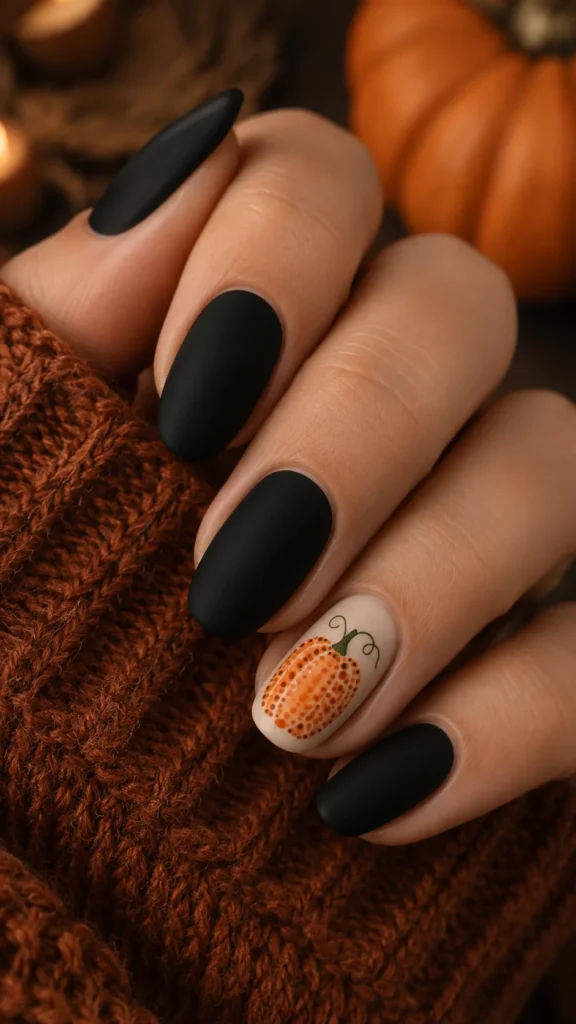
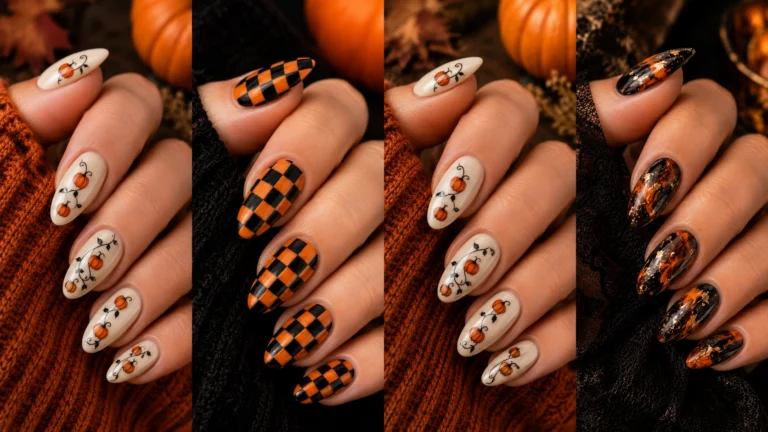
Paint one accent nail orange, then use a dotting tool or toothpick to add a small green stem and a few black lines for the pumpkin ridges. The rest of your nails can stay a solid neutral or black.
Pro tip: Keep the pumpkin small and centered on the nail, it looks cleaner and more polished than trying to cover the whole nail.
4. Simple Bat Silhouette
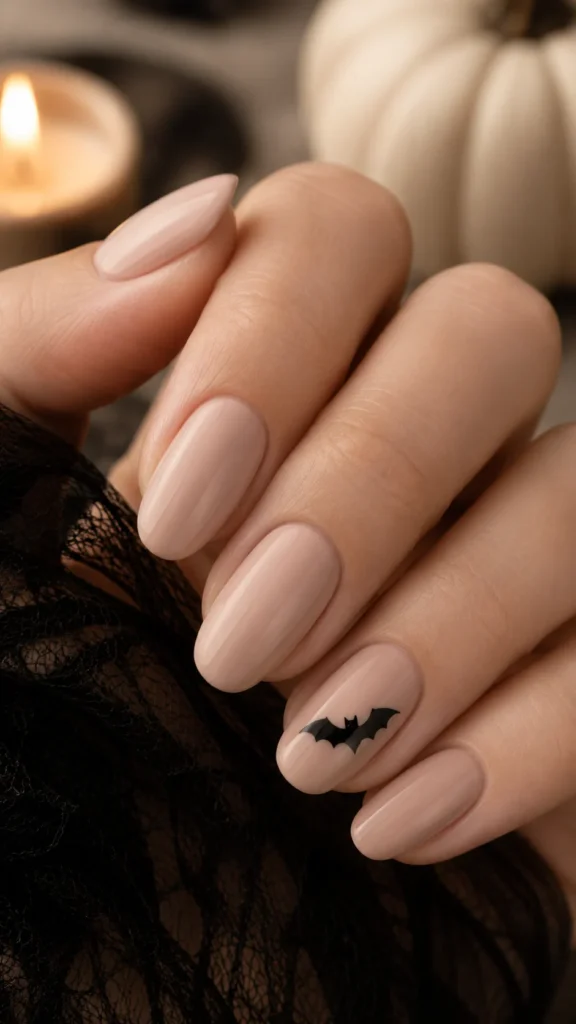
Using a thin brush or even a toothpick dipped in black polish, draw a small bat shape on a light colored base, think two triangle wings and a tiny round body. It only takes a few strokes.
Pro tip: Practice the bat shape on paper first if you’re nervous, once you get the motion down it takes seconds to recreate on the nail.
5. Striped Candy Corn
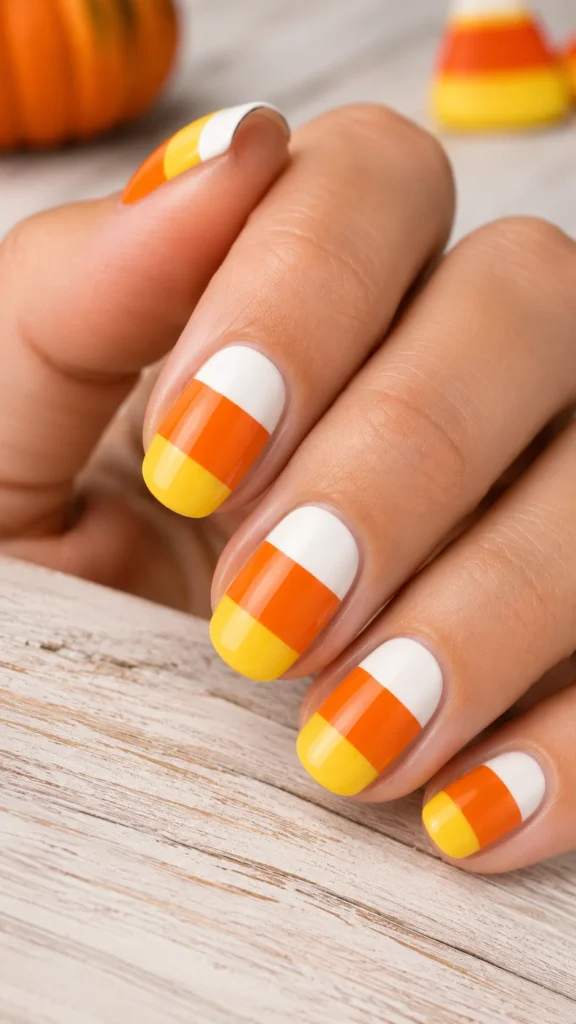
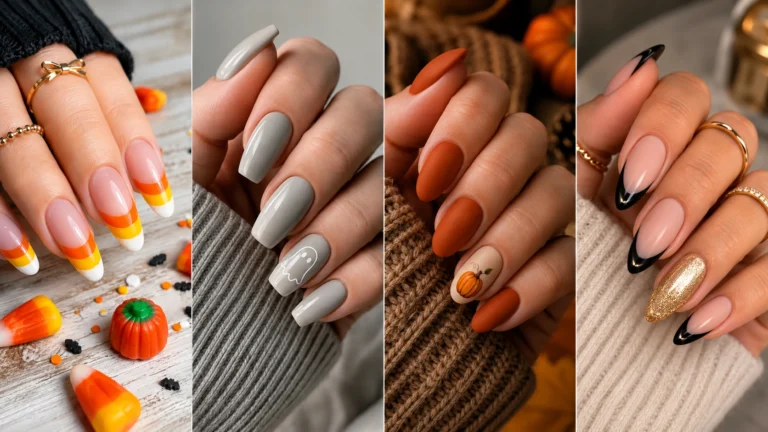
Paint your nail in three simple horizontal sections, white at the tip, orange in the middle, and yellow at the base. No blending needed, just clean sections using a flat brush.
Pro tip: Let each color dry fully before adding the next layer so the lines stay crisp instead of smudging together.
6. Marble Effect Swirls
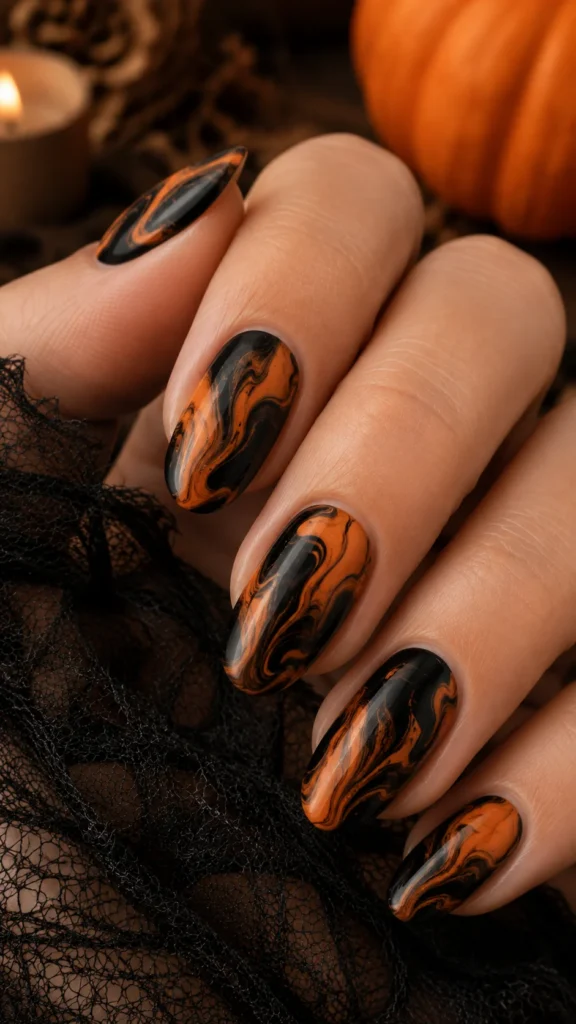
Drop a bit of black and orange polish onto a base coat while it’s still wet, then use a toothpick to gently swirl them together. It’s forgiving because every swirl looks a little different and none of them look wrong.
Pro tip: Work on one nail at a time so the polish doesn’t dry before you get a chance to swirl it.
7. Minimal Ghost Dot
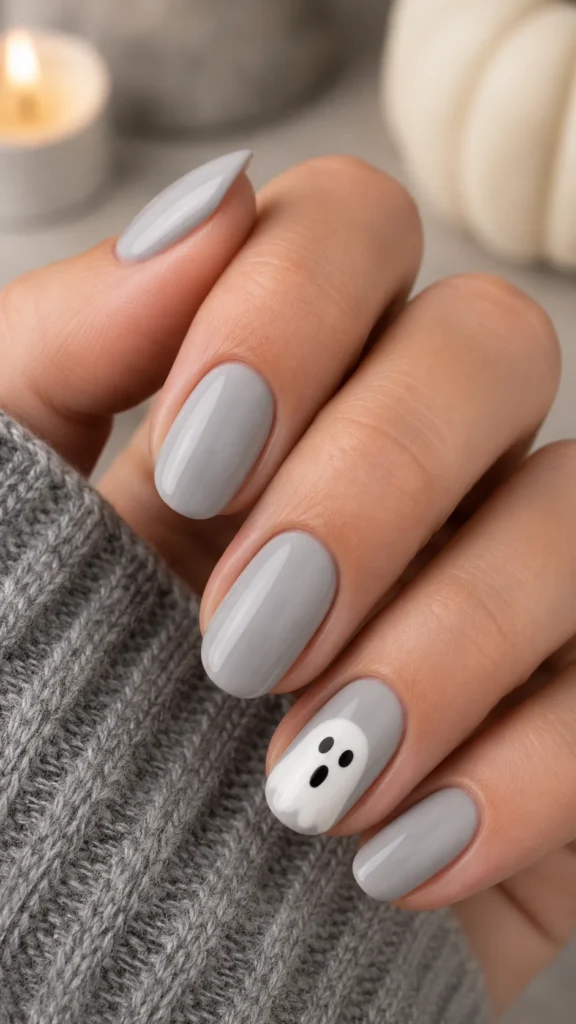
On a white or pale gray base, use a dotting tool to add two tiny black dots for eyes and a small oval mouth on one accent nail. That’s genuinely the whole design, and it’s impossibly cute.
Pro tip: Keep the ghost face slightly off center, it gives the design a more playful, hand drawn feel.